The way letters are fixed to a building is not just a practical detail. It changes how they look – flat and crisp, or floating with a shadow – and decides whether halo lighting works at all. It also determines the back of the letter, the drilling work on site and how easily the sign can be maintained. This guide walks through the common mounting methods for built-up and channel letters and the details to settle before production.
Flush or raised: the first decision
Every built-up letter is either mounted flush against the surface or raised on stand-offs.
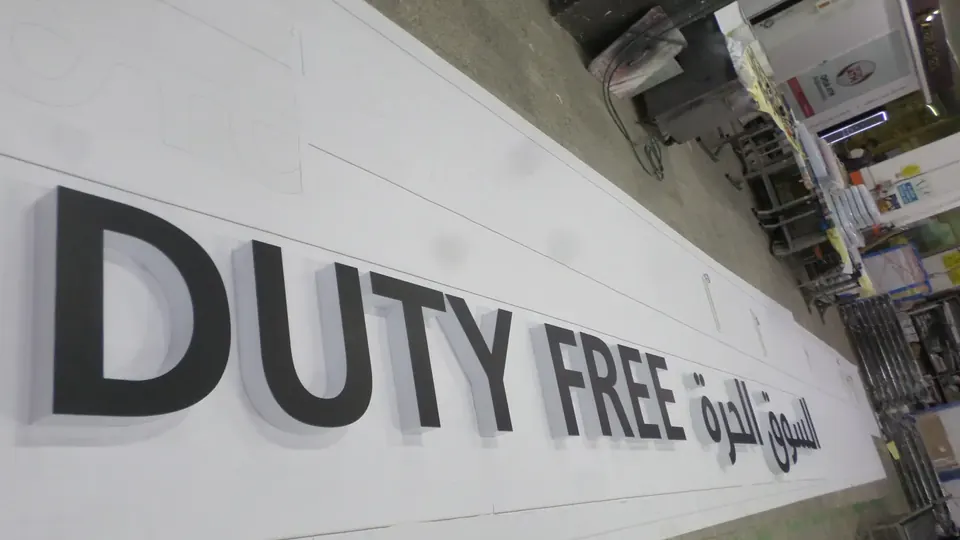
- Flush mounting gives a solid, architectural look with no visible gap. It suits non-illuminated and face-lit letters. Our SML 4 EXCLUSIVE is designed for this: a metal back-face mounted with zero gap to the wall.
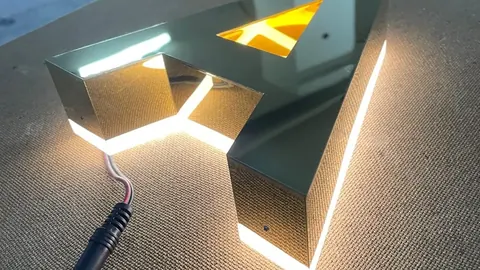
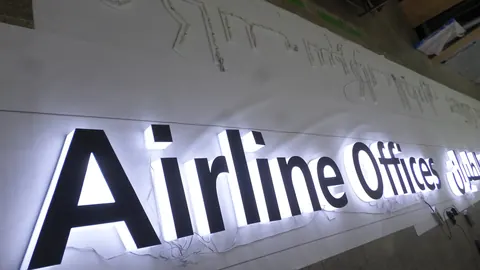
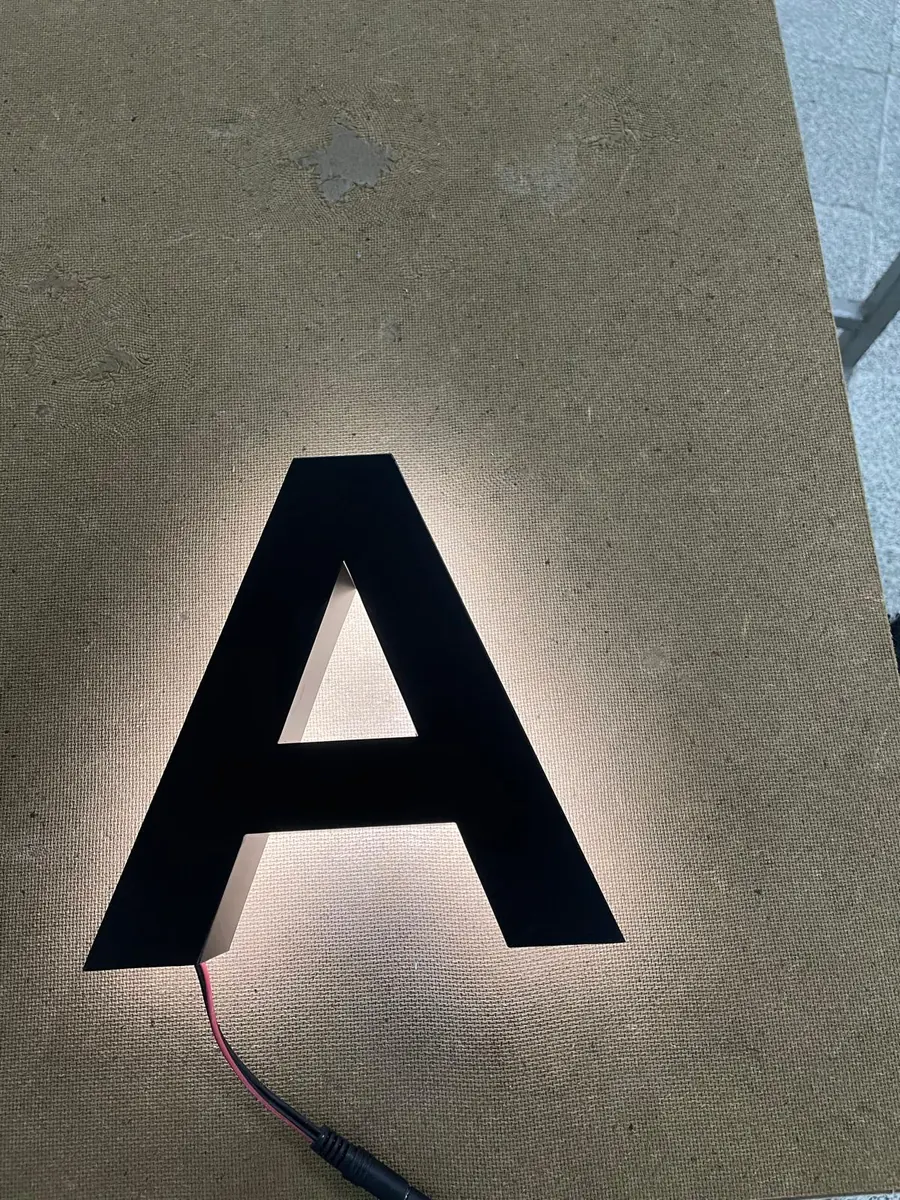
- Raised mounting lifts the letter off the surface. Even unlit letters gain depth from the shadow line behind them, and for halo-lit letters it is essential: the LEDs shine backwards, so the light needs space to spread over the wall.
Many profiles offer both. Our non-illuminated SML 2, for example, can be mounted flush on site or raised with stand-off screws.
Common fixing methods
Studs and stand-offs
The most common method for individual letters uses threaded studs or stand-off screws fixed to the back of the letter. Holes are drilled in the wall in the positions of the studs, and the letters are set with a suitable adhesive or anchor for the substrate. Stand-offs (spacers) on the studs set the distance between the letter and the wall.
- Works for flat, unlit letters as well as channel letters.
- Leaves the wall clean between letters – only the letters are visible.
- Needs precise drilling, so the hole positions must match the letters exactly.
On illuminated profiles such as SML 6, a version on high mounting screws lifts the letter far enough for front and back lighting.
Double-sided tape
Thin, light flat letters – such as cut-out letters in composite or PVC foam – can be mounted flat with double-sided tape on smooth surfaces, typically indoors. Our SML 1 cut-out letters are available flat with tape or raised with stand-off screws. For heavier letters, rough surfaces or outdoor use, mechanical fixing is the safer choice.
Rails (raceways)
With a rail mount, the letters sit on a horizontal profile (often called a raceway in the US) that is fixed to the wall. The rail can house wiring and power supplies, which means fewer holes in the facade – useful on listed buildings, on cladding or where the wall cannot be opened up behind every letter. The rail is visible, so it is usually finished in the wall colour.
Backing panels
Letters can also be mounted on a backing panel (a flat sign tray or fascia panel), which is then fixed to the building. This turns many separate letters into one unit that can be pre-assembled and installed in one go, and gives a defined background. It is a common choice for shopping centres, shopfronts with an existing fascia and installations where the letters may be relocated later.
The back of the letter
The mounting method affects how the back of a letter is built. Our data sheets list the options per profile, for example:
| Back / mounting option | What it means | Example profiles |
|---|---|---|
| Zero back-face | Closed back that sits flat against the wall | SML 3 EXCLUSIVE, SML 4 EXCLUSIVE, SML 6 |
| Contour back-face | Back following the letter outline | SML 3 EXCLUSIVE |
| PVC foam back tray | Back made of PVC foam board | SML 4 |
| High mounting screws | Letter raised on long screws, e.g. for front and back lighting | SML 4, SML 6 |
| Back acrylic + mounting screws | Acrylic back for halo light, mounted on screws | SML 3 |
| Stand-off screws | Flat or built letters raised from the wall | SML 1, SML 2 |
Tell your manufacturer which method you will use – it is one of the six choices on every order (see what to send with a quote request).
The wall matters
The substrate decides the fixings, so describe it when you order:
- Brick, concrete and stone – solid; studs set in drilled holes with a suitable adhesive or anchor.
- Render over insulation (ETICS) – the render alone cannot carry the load; fixings must reach the structure behind or use systems designed for insulated facades.
- Metal or composite cladding – fix to the substructure or use a rail or backing panel to spread the load.
- Glass – letters are usually fixed to a panel or frame, or mounted on the inside of the glazing.
Always check the wall and follow the fixing manufacturer's instructions and local building rules. Weight, wind load and the size of the letters all play a role.
Positioning and templates
Accurate hole positions make the difference between a sign that looks right and one that looks slightly off. Installers commonly use a full-size drilling template (pattern) showing the outline of each letter and the position of each stud. Mark a level baseline first and check the spacing of the whole word before drilling. Ask your manufacturer what installation aids come with the letters.
Illuminated letters: cables and power supplies
For illuminated letters, plan the cable route together with the fixing method. Typically a cable runs from each letter through a hole in the wall to the power supply behind the facade, or along a rail. Keep the power supplies accessible for maintenance and leave the mains connection to a qualified electrician. Our guide to LED modules, power supplies and IP ratings has more detail.
Checklist before installation
- Flush or raised? For halo letters: raised.
- Fixing method: studs, tape, rail or backing panel.
- Substrate type and condition checked.
- Template or hole positions confirmed.
- Cable entry points and power supply location agreed.
- Access equipment and permits arranged where needed.
Not sure which mounting suits your project? Mention the wall and the look you want in your quote request and we will suggest the matching profile and back.
Frequently asked questions
How are stand-off letters fixed?
Usually with threaded studs or stand-off screws on the back of the letter, set into drilled holes in the wall with a suitable adhesive or anchor. Spacers set the distance between letter and wall.
Do halo-lit letters have to be raised from the wall?
Yes. The LEDs shine backwards onto the wall, so the letter needs a gap behind it for the light to spread and form the halo.
When should I use a rail or backing panel?
When you want fewer holes in the facade, need to hide wiring and power supplies, are working on cladding, or want to pre-assemble the letters as one unit.
Can letters be mounted with double-sided tape?
Thin, lightweight flat letters can be mounted with double-sided tape on smooth surfaces, mainly indoors. Heavier or outdoor letters need mechanical fixing.